Project: Smart Parking System in PHP with source code
-To download Smart Parking System In PHP project for free(Scroll Down)
The Smart Parking System In PHP is parking guidance and reservation system in towns. The project contains the admin sides and the user side. The admin is of two types: the main admin and the sub-admin(attendant). The admin can view and manage the users, sub-admin, and manage the parking area. While the sub-admin acts as a guard of the parking area. The sub-admin allows the parking request.
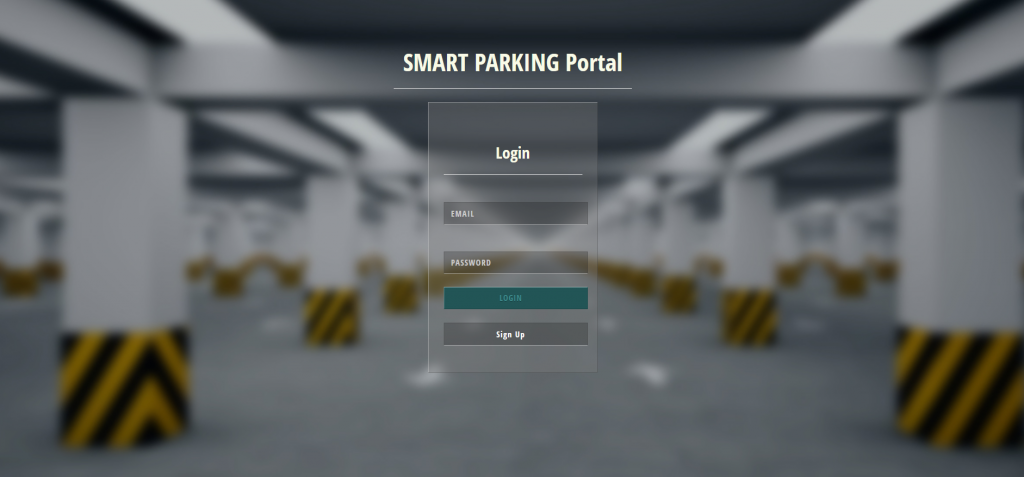
The users are the clients who want to park their vehicles in the parking area. A user has to login first to make the parking pass. If he/she has not registered, they can register first and then login. Looking for spaces to park can be really hectic in a busy town in regard to walking distance to your destination from your vehicle, safety of the vehicle, payment for the service among others. If one happens to be a stranger in town it gets more difficult to operate around the town. This project is a very simple project that solves all these parking cycle issues.
About System
This Smart Parking System is in PHP, CSS, JavaScript, and bootstrap. Talking about the features of the Smart Parking System, it just contains both the admin section and the user section. The user can log in to book parking, while the admins can view all users, their bookings and manage the parking area. The design of this project is pretty simple so that the user won’t find any difficulties while working on it.
How To Run The Project?
To run this project, you must have installed a virtual server i.e XAMPP on your PC (for Windows). This Smart Parking System in PHP with source code is free to download, Use for educational purposes only!
After Starting Apache and MySQL in XAMPP, follow the following steps.
1st Step: Extract file
2nd Step: Copy the main project folder
3rd Step: Paste in xampp/htdocs/
4th Step: Open a browser and go to URL “http://localhost/phpmyadmin/”
5th Step: Then, click on the databases tab
6th Step: Create a database naming “smart_users” and then click on the import tab
7th Step: Click on browse file and select “smart_users.sql” file which is inside the “Smart-parking” folder
8th Step: Click on go.
After Creating Database,
9th Step: Open a browser and go to URL “http://localhost/ Smart-parking/”
Note: For the admin page, go to URL “http://localhost/Smart-parking/admin_login.php” AND For the attendant page, go to URL “http://localhost/Smart-parking/attendant_login.php”
Admin login details: ([email protected], admin123) Attendant logins (haris, test)
DOWNLOAD SMART PARKING SYSTEM IN PHP WITH SOURCE CODE: CLICK THE BUTTON BELOW
Got stuck or need help customizing Smart Parking System as per your need, go to our PHP tutorial or just comment down below and we will do our best to answer your question ASAP.


Very useful project.Thanks for sharing.For reference about php training inplant training in coimbatore
sir object not found and error 404 is appearing .please help me sir
maybe you are directing to the wrong directory/path
check for correct URL
Sir my attendant_login .php page not accepting I’d hairs and password test shows wrong user details what can I do and I am working on wamp server
not correct id password
hii sir plz send mee this project Email id password
For admin: [email protected], admin123
And for guard: haris, test
U can double-check it from the database record
still cannot log in with the given username and password. help
u have to use the link depending on admin or attendant its been mentioned below
Good day,
Can i have the documentation for reference?
sorry, we don’t have documentation part
Creating database is clear. But it is not clear from next step,could you please explain how to proceed.
Please I’m having a problem loging in and signing up.. Help me out
How does the admin approve the request coz no button to do so?
The project lacks forgot password button
Very Nice Blog…Thanks for sharing this information with us. Here am
sharing some information about Our Software Services
Smart Parking System
script.js file is missing.
what is the user id & password of attendant
how do you approve requests ,i couldn’t find the button for it
hi im trying to make a new parking but it keeps on showing me this message
Fatal error: Uncaught mysqli_sql_exception: You have an error in your SQL syntax; check the manual that corresponds to your MariaDB server version for the right syntax to use near ”attendant’) VALUES (NULL, ‘esf’, ‘Tudor’, ‘ee’, ’13’ , ‘200’,’15’,’kd’)’ at line 1 in C:\xampp\htdocs\Smart-parking\upload.php:24 Stack trace: #0 C:\xampp\htdocs\Smart-parking\upload.php(24): mysqli_query(Object(mysqli), ‘INSERT INTO `pa…’) #1 {main} thrown in C:\xampp\htdocs\Smart-parking\upload.php on line 24
Good
Which xampp version were you using at the time?
Great project however I have problems when it comes to selecting the street, only Tudor can be selected, the rest don’t take you to the table for booking and also the notification for the user is not working. Can you please help out.